DIY Project - Installing Cafe Lights
I’ve been wanting outdoor “cafe lights” for so long, and this weekend we finally made that happen! Since I didn’t have a big budget to hire it done, and thinking it was an easy DIY project, we wanted to do it ourselves. It was one project that was very similar in difficulty to my expectations. That doesn’t happen very often!
Disclosure: Our patio is small. If you have a larger area you want to light up, please purchase wiring to hold the lights. You’ll have to purchase poles as well to get the lights up higher and to install them to an outdoor structure/fence. We didn’t do this because we were working in a smaller area and only used two strands of lights. Also we live in Southern California and don’t have snow, we have very little rain, and only a few times a year do we have wind in which we will need to remove the lights. We can easily remove them at this time.
If you would like something more permanent, you can purchase all of these in a kit for hanging lights and it will be much more of a legit setup. I believe you can still install it yourself, although you may want to enlist the help of a team to come in and install it for you.
If you’re still determined (like me) to DIY… here we go!
I bought and gathered all the supplies:
- Bag of concrete
- Three wood 2x3s
- Three plastic planter pots
- Plant hanger screw-in hooks (we had these in the garage)
- Cafe lights (Costco)
- Paint (I used a outdoor black paint we had in the garage)
- Potting soil (2 large bags)
- Plants
That’s it! Not too many ingredients for this DIY project. Here’s the steps we took:
Mix and pour the concrete. I made sure the pots didn’t have holes in them. Also made sure to get resin pots because we had read not to get terra cotta. Get the consistency to pourable dough. Not too runny because you want it to dry fairly quickly, but manageable.
Place the wood upright and use a level for this, measuring each side. Then use a brace or clamp to keep it in place upright while waiting for it to dry.
Wait for it to dry. We had a lot of rain and so it took a few days. Actually, some of our concrete even split in half in two of the pots. But I didn’t care because I knew we were going to add soil and plants to the top and wouldn’t see it. I just thought of it as extra drainage. Lol.
Paint your boards. Like I said, we had some outdoor paint leftover that I wanted to use. It looked black enough on the can, so I went for it. Well, it turns out it was very much purple when it went on. I panicked and my youngest said we should really go get some new paint, but I was determined (read: cheap) to use what we had on hand. Happily, it dried black (enough) and so no one will know and we’ll think of it as an homage to the Ravens, which we love.
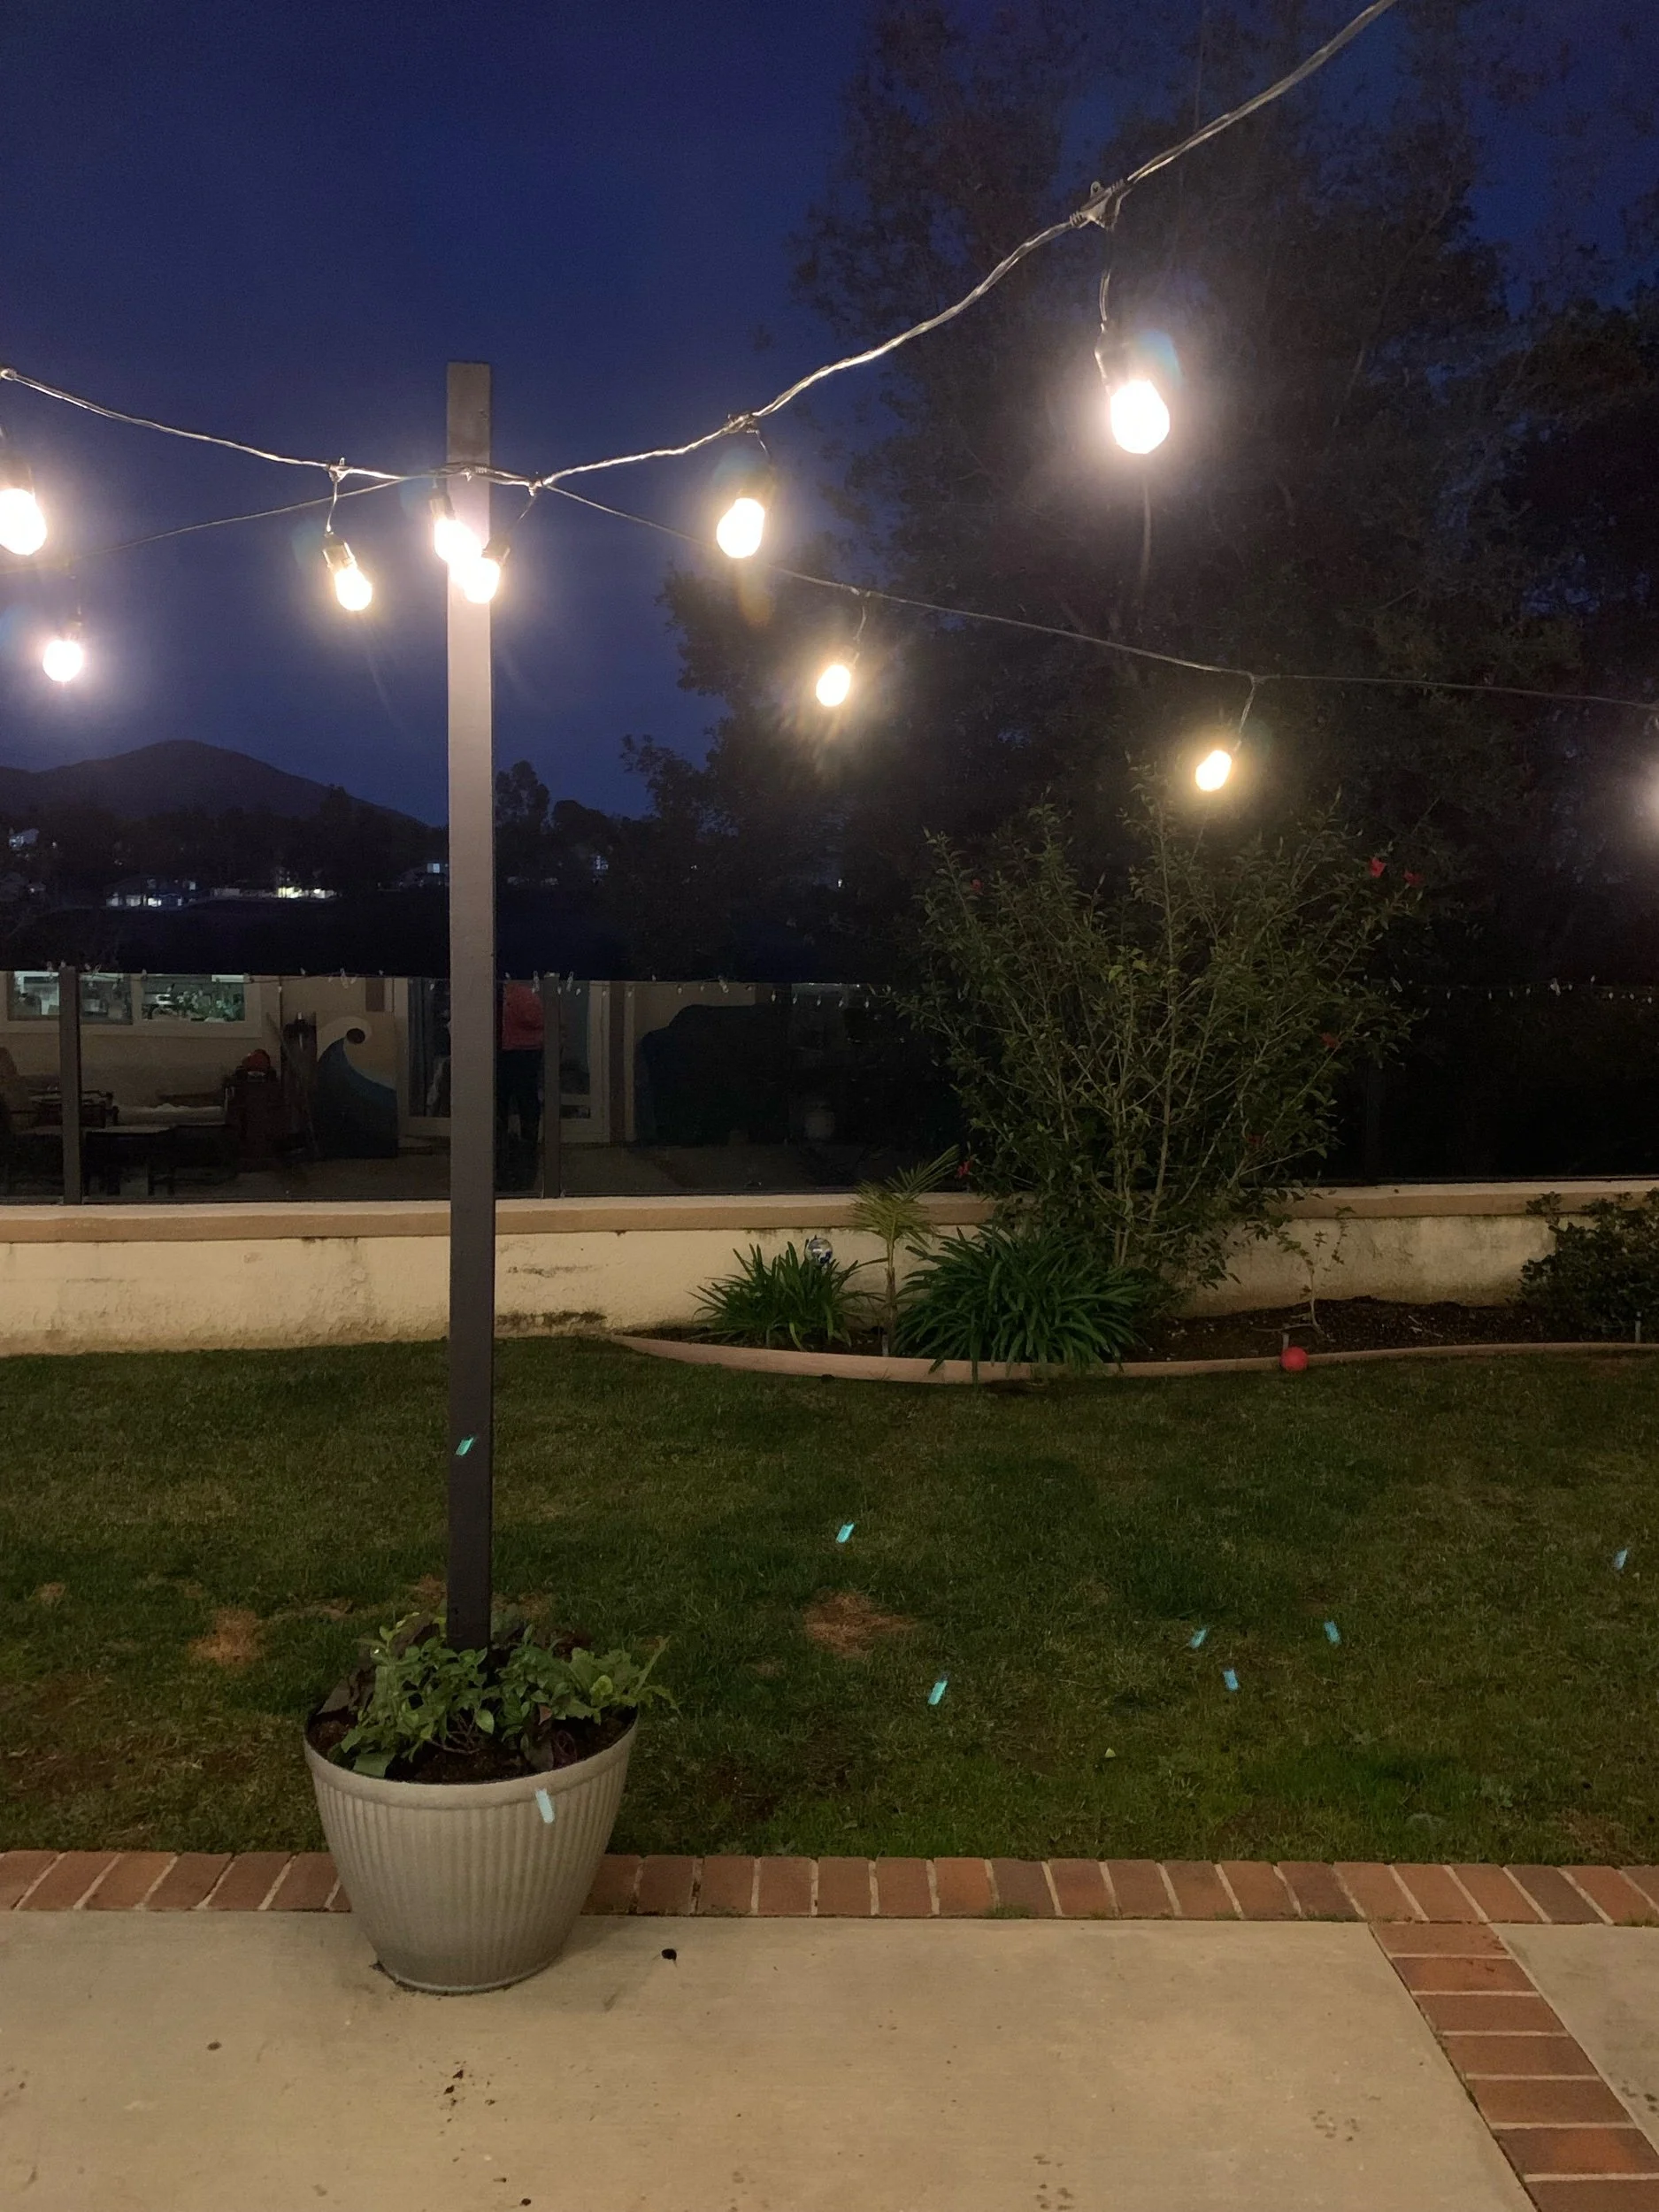
Screw in your hooks. We used 6. Three in the planters and three up higher to the roof fascia board. The fascia board is the runner board that runs right below your gutters or roofline. It was necessary to have the 3 holders up higher on one end, to get the drooping lights up high enough to not hit your head when walking underneath.
Plant your plants. This will give the planters even more weight. We added one climbing plant, three Gerbera Daisies, and two potato vines, to each pot. I just bought what was on clearance at Lowe’s. Saved a ton! It’s surprising how quickly plants can add up and spending $1-$2 on a plant compared to $6-$8 per plants saves so much. Tip: When I worked at The Home Depot, I always scoured the garden section for clearance plants and never saw discounts like our Lowe’s and sometimes the clearance rack wasn’t even out to the public. We destroyed (recycled) plants instead of selling them at clearance. So make sure to check all your different stores to learn each store’s trends.
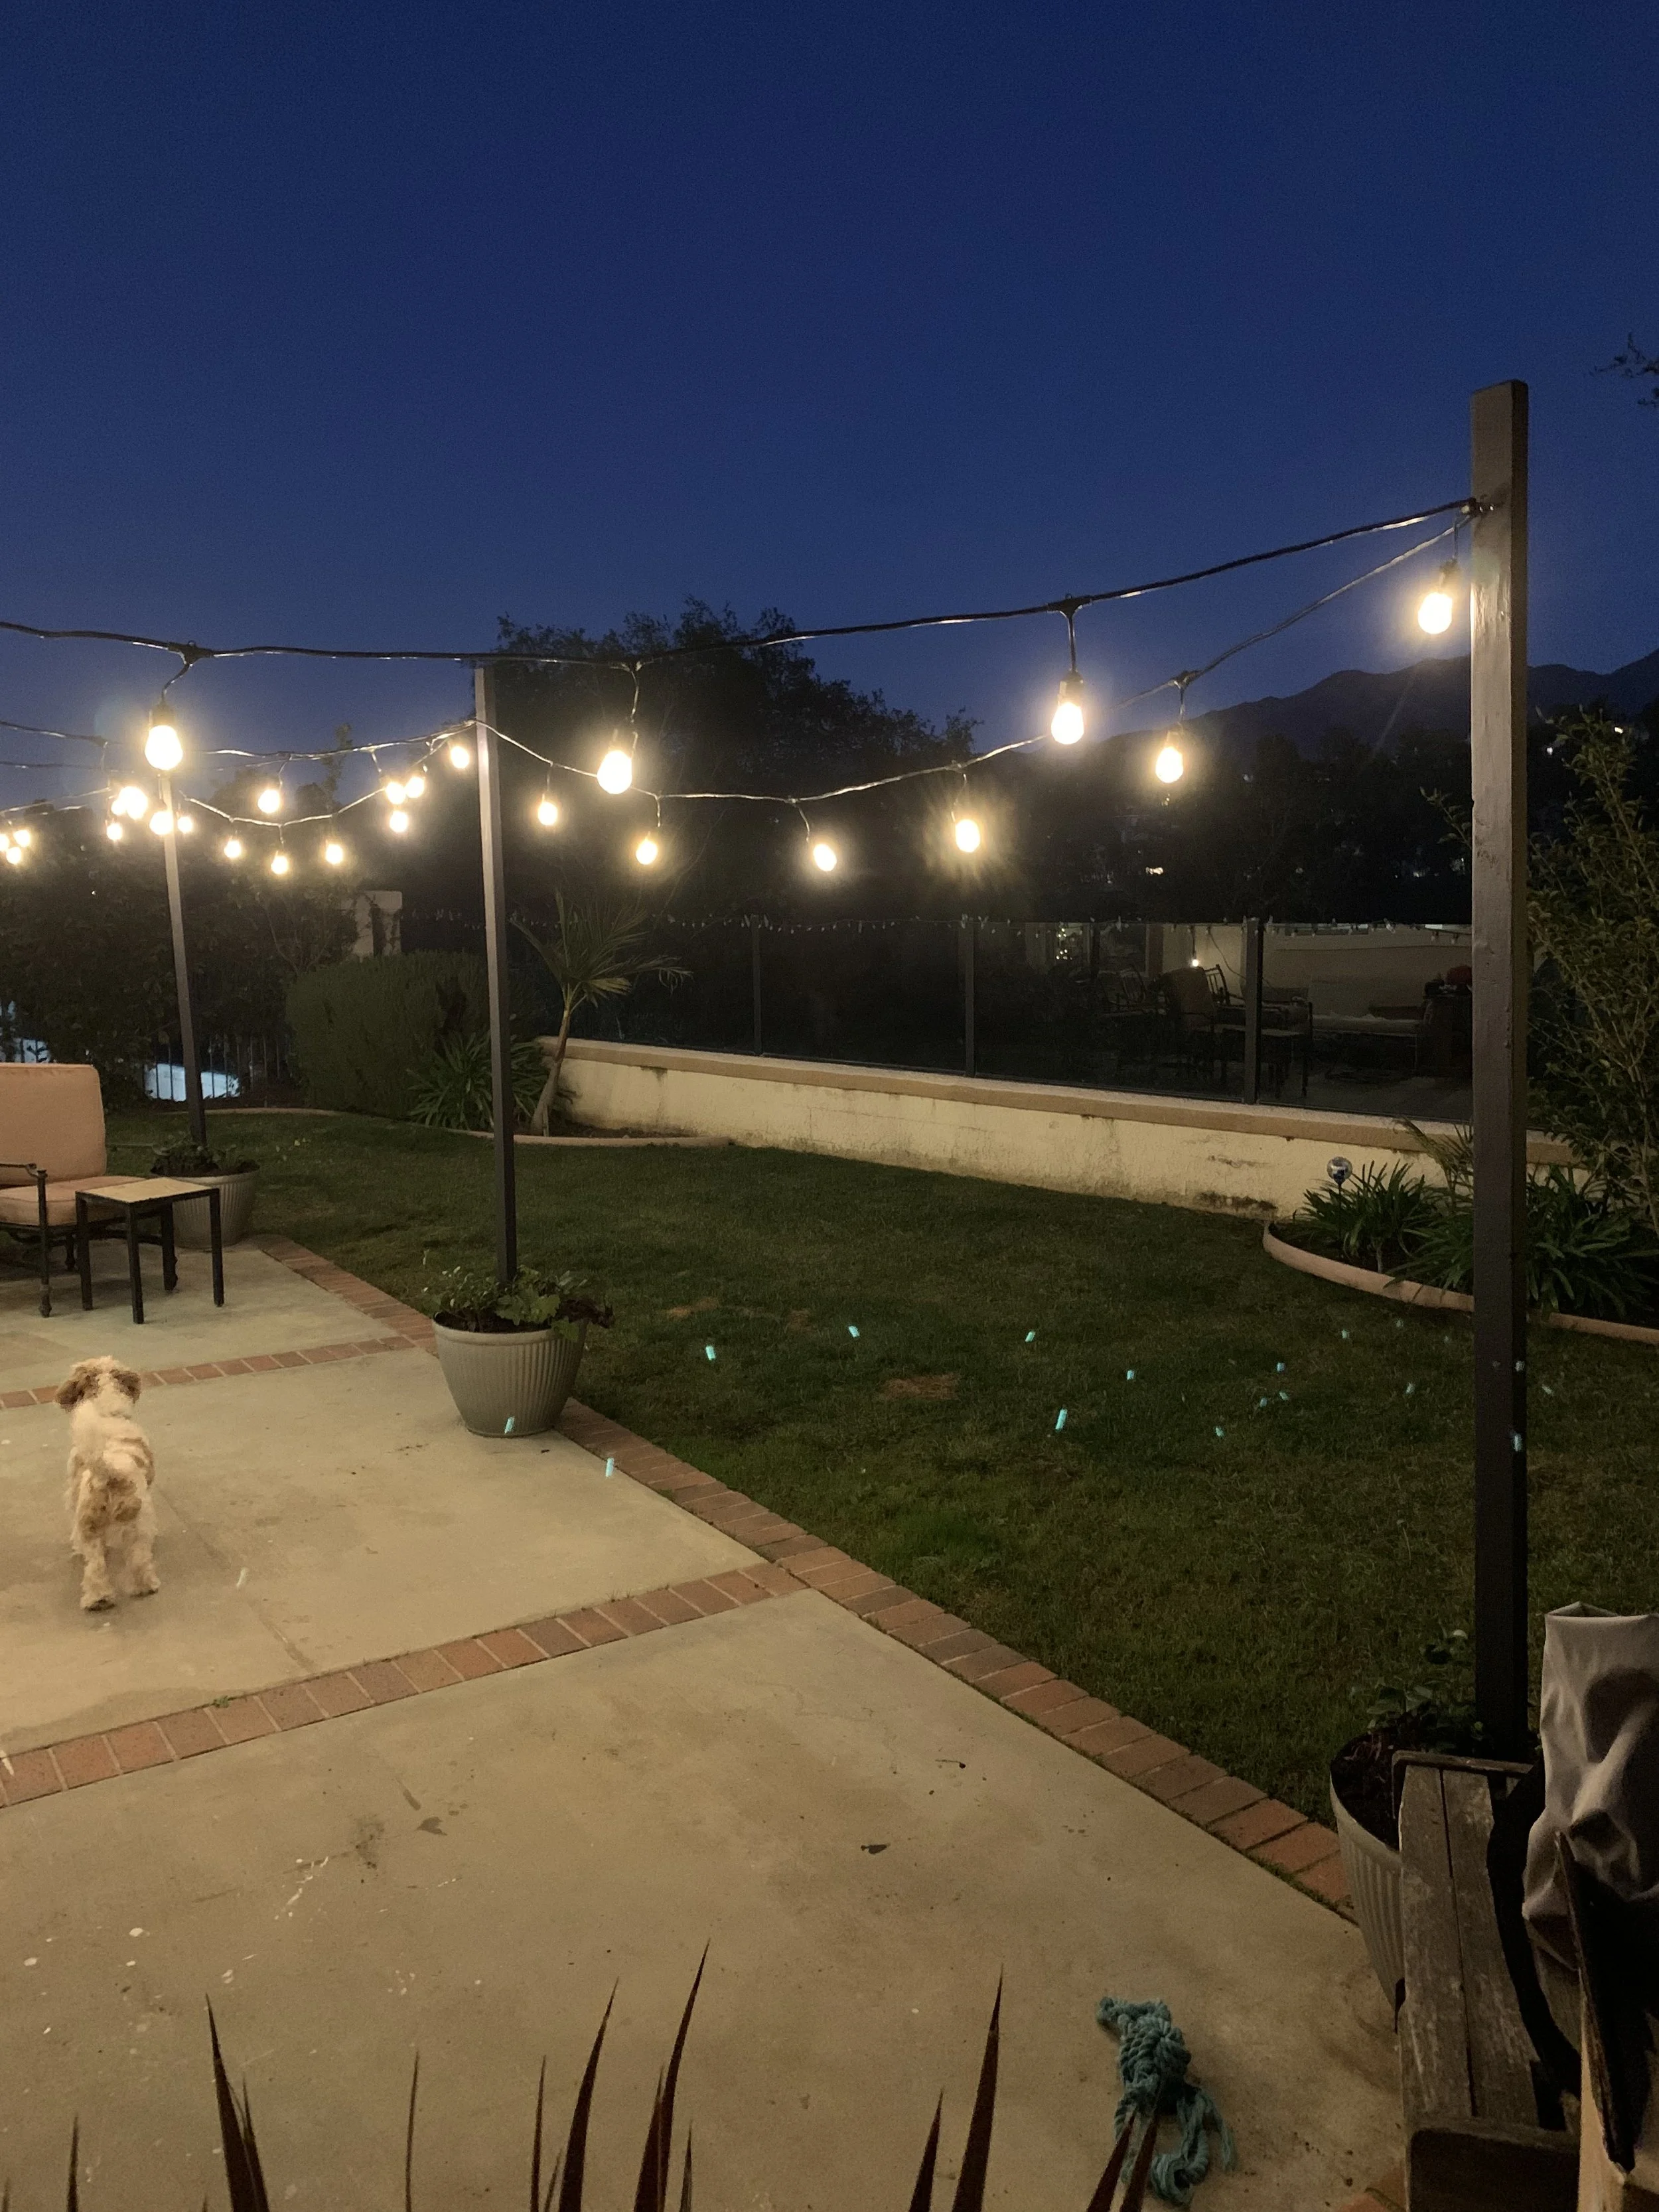
Hang the lights. I thought we were just about finished with the project at the point, but this took quite a long while to get the correct “droopage” and tension. Like I said, we didn’t want to hit our heads with the lights, yet we wanted them to swoop and look beautiful and relaxed. Also you can’t have too much length/lights between hooks because they put too much weight on the planters.
Once you get that length figured out, you’re golden! Literally, you are basking in golden light. It’s magical and I love it. Even grilling has been more enjoyable since we installed outdoor lighting. Give it a try and let me know how it turns out!
Project Cost: Approximately $120 for lumber and planters at The Home Depot, $40/each for string lights at Costco so $80, and $80 for plants at Lowe’s. Total cost: $280.